The Self-Portrait is an artform all on its own. Add in a few kids though and it can feel quite daunting to undertake the challenge! But, the hard work is worth it as it can be such a fun and rewarding experience, especially when you get editing and realise that you have created something really special and memorable. Some of my favourite images I have taken with my children have been created with my camera attached to a tripod.
Let’s get started:
Setting up for your Self Portraits:
1. Use a Tripod or Find a Smooth Surface
For starters, take stability into consideration. For a clean shot, you want to make sure that your camera is completely stillness to avoid any blurriness in your shots. Using a tripod is the best way to ensure stability, but if you don’t have one, you can use a stable surface like a table or a stack of books to hold your camera steady. However, using a tripod is an easy way to be able to manoeuvre your camera for a new angle. It may also stop your precious camera from dropping to the ground and getting damaged.
HOT TIP: Want a recommendation on a tripod? Click HERE
2. Choose the right lens
The lens you choose will have a big impact on the look and feel of your self-portraits. If you want to capture a wide angle shot, use a wide-angle lens such as a 35mm. The wider your view, the more you will be able to see in the frame. This could be helpful if you are wanting to include landscape in the photos, or leave room for movement across the frame. If you are looking for something a little more close-up, a portrait lens such as a 50mm could be perfect. Choose the lens that will give you the look you want for your self-portraits.
3. Setting your Interval Timer
You have to consider how you would like your shutter to fire (in other words, how you would like the photo to click). Mirrorless and DSLR cameras may have an inbuilt function, or may require a remote or attachment. Ideally you don’t want to have to touch your camera to take a photo as you want to reduce camera shake and potentially missing focus or frame. Each camera will have different capabilities across these options.
Standard Timer: You may want to set a timer on your camera where it counts down before triggering a single photo. This is the least preferable of the options as it requires you to reset the timer and press down on the shutter button for each shot.
Inbuilt Interval Timer: Cameras such as the Canon R6 or Nikon Z7 have an inbuilt interval timer which will take photographs a the interval you set, to the frequency you set. This is my recommended way to take self-portraits with kids as you don’t need to keep fiddling with the camera once you have set it up to commence shooting.
Remote: A Camera remote can release the shutter with the click of a remote control. These are relatively inexpensive. However a downside is that you need to point it directly towards the camera and it is likely to be visible in the final photographs. It also affects how you move your hands.
External Interval Timer: A wired interval timer may be compatible with your camera if you do not have an inbuilt Interval timer. It works in a very similar way however is plugged into your camera. This would be the second-most ideal method for triggering the shutter.
If you are using an interval timer, set it to infinite so that it shoots continually and you don’t need to reset it. When you are finished you will need to turn your camera off to end the infinite shooting.

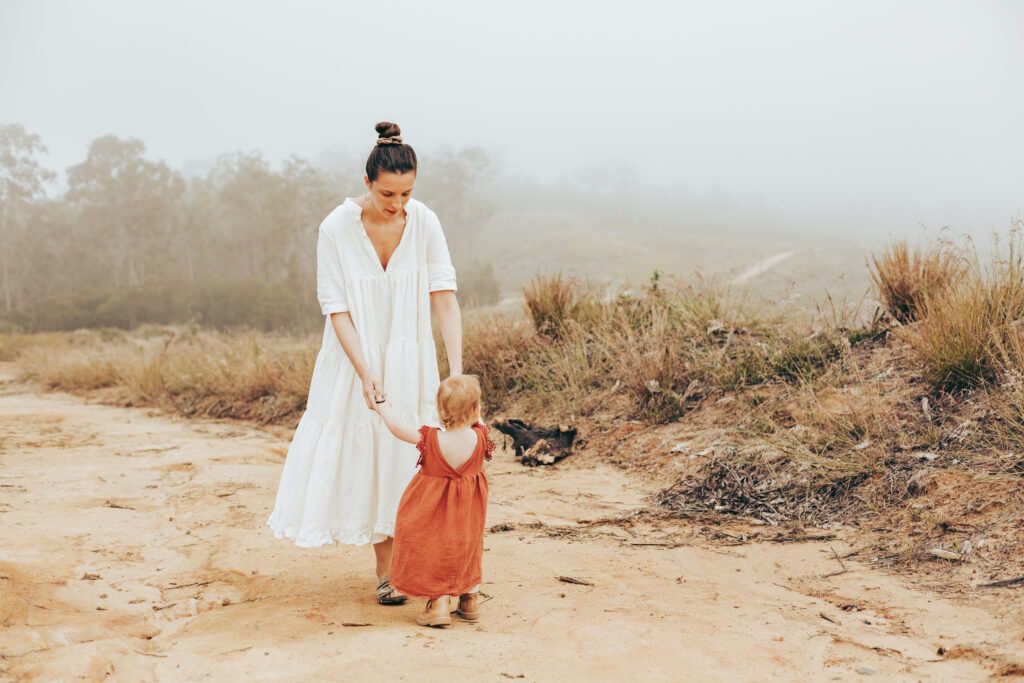
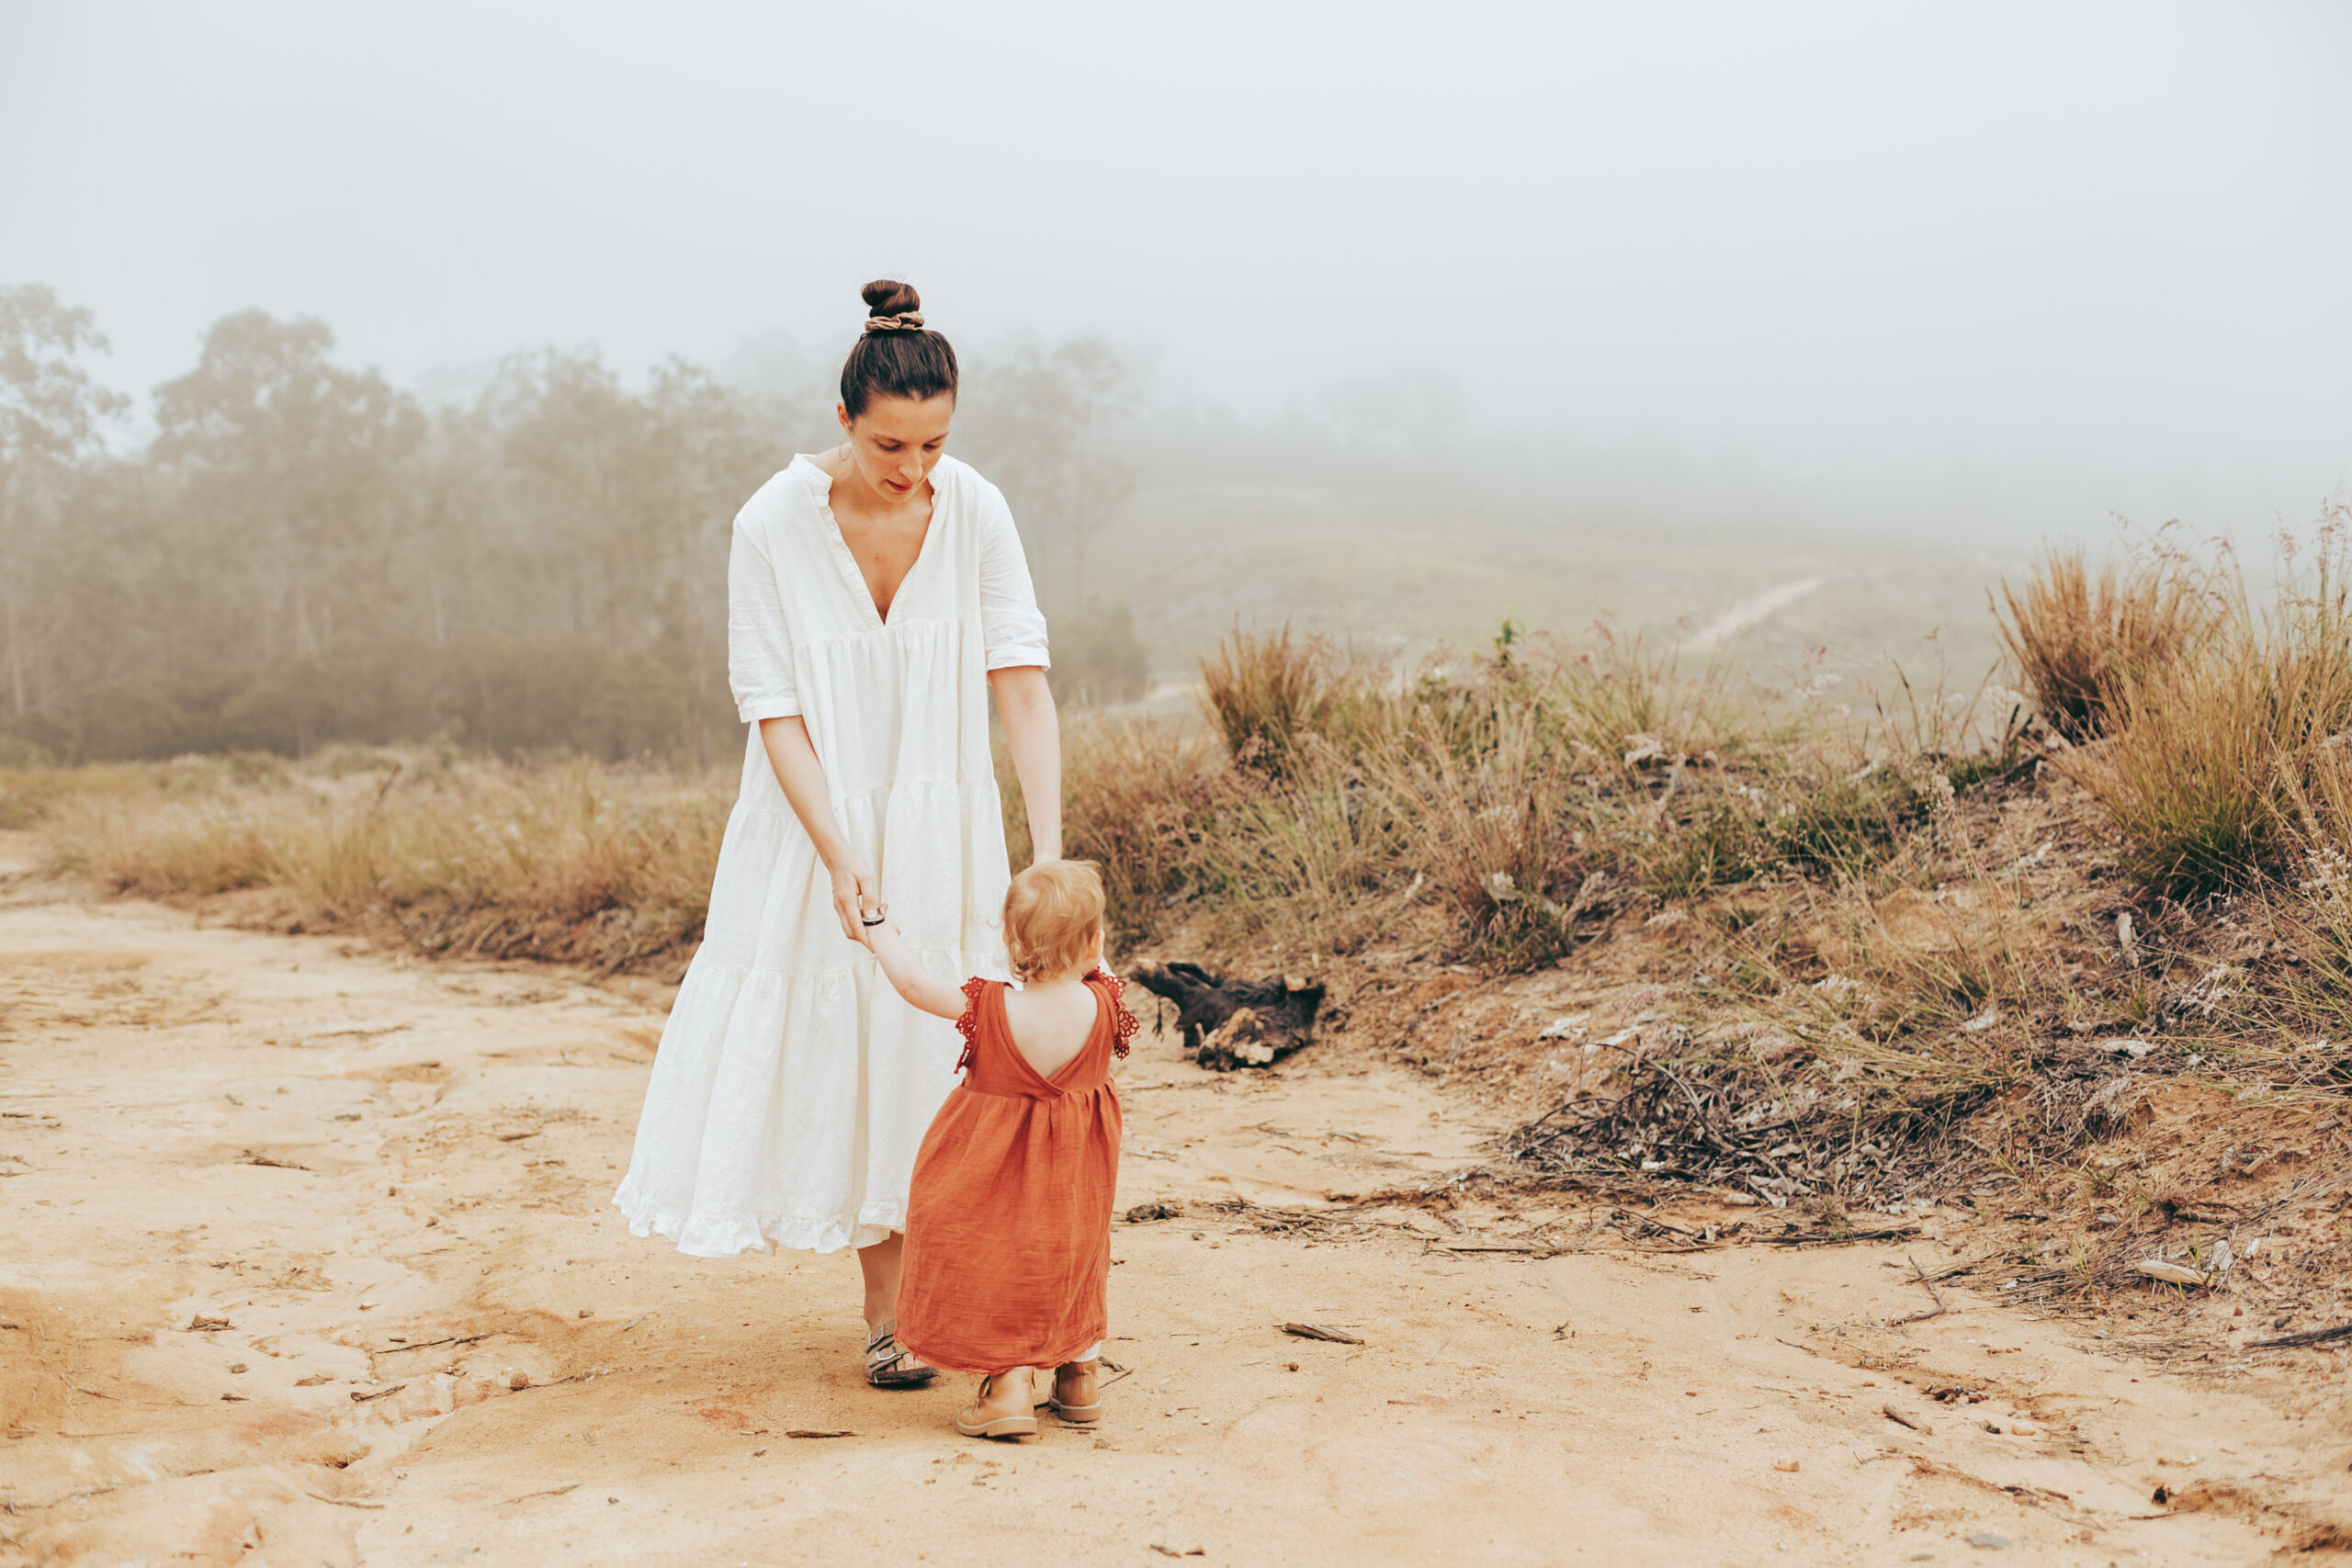
Settings: 1/250, Ff/3.0, ISO300, overcast/misty morning (see if you can spot the remote shutter trigger in my hand!)
4. Choosing your Settings
You’re going to want to ensure your camera is shooting in Manual Mode to get maximum control over the final result, and have it looking just the way you want it to. If you haven’t yet learnt to shoot in manual I recommend checking out the Mamastalgia Workshops. Double check as well that you are shooting in RAW.
Focus – As we are shooting a moving subject, you are going to want to set your camera to use Continuous-Servo AF (AF-C) with Nikon and AI Servo AF for Canon

5. Get the kids involved
Once you have your settings ready to go, I like to have a little go in front of the camera before getting the kids involved. Start to build your confidence by trying out angles, movements. And check back over the photos you have taken to get a feel for what worked and what didn’t, as well as double checking the settings were correct so the exposure and focus were working well.
Its important to very gently encourage the kids to participate in taking photos. If they feel too much pressure it will not be natural and they may just refuse altogether. Ensure that your expectations allow room for them to be kids!
Embrace the mood and energy they are feeling. If they are snuggly, then snuggle. If they are feeling energetic then toss them up in the air and spin around with them. Keep moving, keep things light, and keep the kid’s attention on you and not on the camera.
You could try playing a little game with them such as Chinese whispers, or tell them a story. Maybe you could read or eat together. Do things which are natural for you both, because in the end don’t you want to remember the kids as they were?
6. Edit your Self-Portraits
You’re going to have a LOT of photo choices. Go through and ‘Cull’ down to the ones you absolutely love. Use an editing program such as Lightroom (recommended), to really bring the photos to life and flex your creativity. You can adjust the brightness, contrast, and saturation to enhance the colours and create the mood you want for your photos. Editing can also help you crop and straighten your photos if needed.

Make sure to tag your Self-portraits on instagram with #mamastalgia and share within our facebook community for your chance to be featured.
**Affiliate links have been included in this blog post which may mean I make a small commission on sales through recommended products.

Here is an example of a comment on a post. Looking great!